Showing posts with label neutral. Show all posts

Monday, April 8, 2013

Tribal Striping Tape

Hey guys,

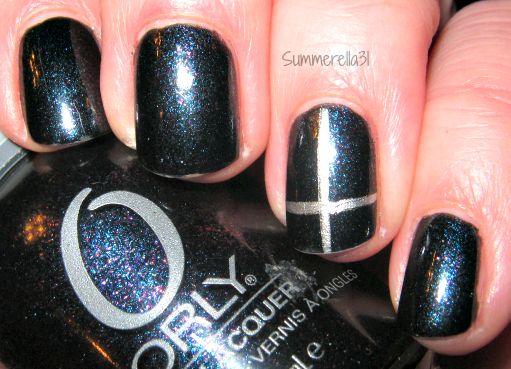
I played around with my striping tape this weekend and I think I am finally getting the hang of this striping tape!  I love the design I came up with on my middle finger, I think it looks so cool.  

I used OPI My Vampire Is Buff, Essie First Timer and Orly Shine


Wednesday, April 3, 2013

Impressionist Flowers

Hey guys,

I have a really neat mani to show you all today.  I have really been enjoying experimenting with different types of nail art lately, especially things that I would not have thought to try before.  For this look I was inspired by Impressionist paintings, I love Impressionism it probably one of my favorite art movements.  If you are wondering what Impressionism is I suggest you Google it, Monet is probably the most well known Impressionist.  However my favorite would be Edgar Degas, I love his art, I actually did a research paper on him when I was in high school for one of my art classes. 

To achieve the look for this mani I used nail polish thinned out with acetone.  I started with a base of OPI Skull and Glossbones I then used Essie First Timer, Essie In the Cab-ana and China Glaze Turned Up Turquoise thinned with acetone to paint flowerery shapes onto my nails.  I then used Essie Mojito Madness thinned wiht acetone and dotted it around the flower shapes to get a leaf effect.  I am in love with this mani, I wish it would photograph a bit better.  It show too much detail in the photos because of darn macro, but in real life this has lovely blurred look.


Sunday, February 24, 2013

bigRuby Nail Tattoos

Hey guys,

So I ordered a few sets of the bigRuby nail tattoos and I got them yesterday so of course I had to instantly do a mani with them!  I got the Him set and the Stars set.  I am so excited about these, they are so cute and so flippin easy to use.  If you ever put a temporay tattoo on when you were a kid or have put one on your own kiddo then this is as simple as that.  You basically place it on your dry nail in the position that you want and then put a wet washcloth or paper towel on top of the paper backing for 15 seconds, slide the paper off the nail and the tattoo is transferred to your nail. I found the application very easy, just make sure that when you place it you get it correct the first time because it sticks to your nail once it is placed on it.  Anyways enough rambling, all in all I am super satisfied with these and can't wait to use more of them!

I used Orly Night Owl, bigRuby deer tattoo from the Him set and black studs from a nail art gems set I got from Cheeky on Amazon.


Wednesday, January 16, 2013

Mani Spam

Hey guys,

I have been slacking on my blogging lately, sorry about that.  It just seems like there hasn't been enough time for anything the past few weeks and I got sick last week.  These are some random swatches of mani's that I took pics of but didn't really think they were worthy of a post.  Either because I didn't like how the pics came out or I did a crappy application or something.  I promise I will have some good posts really soon!


Orly After Party and Essie No Place Like Chrome


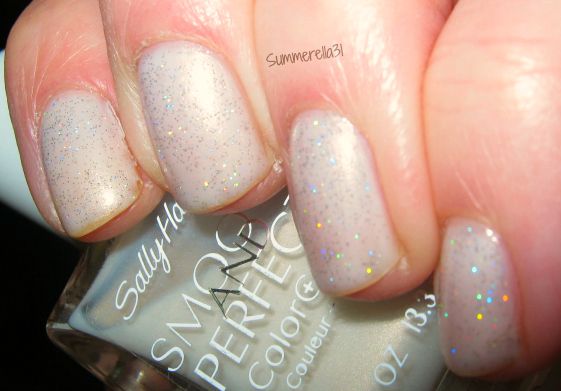
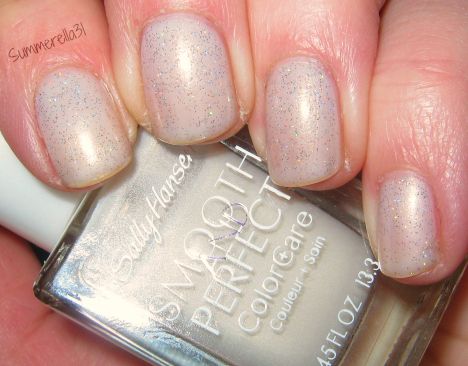
Sally Hansen Smooth and Perfect Fog and inm Northern Lights holographic topcoat


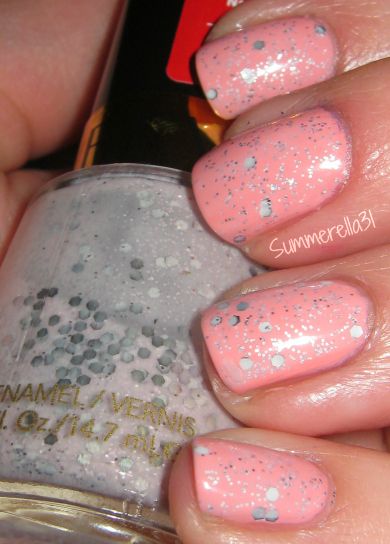
Orly Cotton Candy and Revlon Starry Pink (Popular)


Essie Topless and Barefoot and China Glaze Blonde Bombshell


Wednesday, January 2, 2013

Happy New Year!

Hey guys,

Hope everyone had a safe and happy New Year.  I have my very first mani of 2013 to show today.  I had done a different mani for New Years Eve and it got destroyed before I could get any pictures of it, so I did this one yesterday.  I love feather mani's they always looks so delicate and pretty!

I used OPI Skull and Glossbones, China Glaze Polarized, Wet N Wild I Need a Refresh-Mint and an Amuse white nail art pen.


Thursday, December 27, 2012

Palette Cleanser

Hey guys,

I have a nice palette cleansing mani today.  After all the Holiday glitter bombs and nail art I needed something refreshing.  I love the look of these two polishes together.  It is very soft and subtle, but still has a fun element to it with the glitter.


I used OPI Bubble Bath and Nina Ultra Pro Holographic Topcoat


Wednesday, November 28, 2012

Sparklicious Gradient

I did this reverse gradient with L'Oreal Sparklicious, a gorgeous glitter from their holiday collection.  This glitter is serious perfection, it is such a light gold it is almost silver but is still appears gold. Haha sorry that is a weird description of it, really this polish is a cooler toned version of China Glaze Blonde Bombshell, which is probably one of my favorite glitters ever, except for there are no tiny bar glitters in this one.  I wanted to try it with a gradient first but it would look really good over a bunch of different polishes and is a perfect accent nail color.

I used Color Club High Society and L'Oreal Sparklicious


Also on a side note I am working on the way I take my pictures and the lighting, so I will appoligize in advance if my pictures are cropped differently or the lighting is different than usual.  I am just working on improving my photo quality!


Tuesday, October 23, 2012

Blood Splatter

Here is another Halloween mani, I love doing blood splatter nails for Halloween!  This is probably my favorite nail look for this time of year.  I did a different base color than I would usually choose.  Mainly because the color kind of washes my hands out and I thought that may give a nice effect.

I used China Glaze Fast Track (really pretty but does not go well at all with my skintone) and Finger Paints Signed In Wine, in real life this color splattered looks a lot like the color of dried blood.


Tuesday, October 9, 2012

Skull and Glossbones

My first Halloween mani yipee!  I love doing Halloween nails, I have quite a few more planned throughout the month as well.  I went with a subtle one this time.  For the skull accent I found this great tutorial on Swatch and Learn it's really pretty easy to paint onto the nail.  I did have a few issues and actually redid the accent several time before I got it right.  Honestly the first time I didn't wait for the black polish to dry long enough and ended up smearing it really bad.  Then I redid it and forgot and ran my fingers through my hair!  I tried it again and messed it up again, did it one more time and tried a fastdry black nail polish for the eyes so I wouldn't have to wait so long to put topcoat on and this helped sooooo much.

I used OPI Skull and Glossbones, China Glaze Make A Spectacle (omg love so much!), Wet N Wild Ebony Hates Chris (for the eye sockets) and a black Amuse nail art pen for the teeth.


Friday, August 17, 2012

Care To Danse?

I have yet another jelly sandwich today.  I think I like paler, more pastel toned jelly sandwiches rather than a brighter one.  

I used 3 coats of  OPI Care To Danse?, 1 coat of NYC Starry Silver Glitter, and one more coat of Care To Danse?.